macOS Catalina doesn’t ship with Python 3, only 2. But you can still get 3 from Apple, updated regularly through system’s official update methods. You don’t need to get the awful Anaconda on you Mac to play with Python.
Python 3 is shipped by Xcode Command Line Tools. To get it installed (without the heavy Xcode GUI), type this in your terminal:
xcode-select --install
This way, every time Apple releases an update, you’ll get it.
Settings window will pop so wait 5 minutes for the installation to finish.
If you already have complete Xcode installed, this step was unnecessary (you already had Python 3 installed) and you can continue to the next section of the tutorial.
Clean Old Python Modules
In case you already have Python installed under your user and modules downloaded with pip, remove it:
rm -rf ${HOME}/Caches/com.apple.python/${HOME}/Library/Python \
${HOME}/Library/Python/ \
${HOME}/Library/Caches/pip
Install Python Modules
Now that you get a useful Python 3 installation, use pip3 to install Python modules that you’ll need. Don’t forget to use –user to get things installed on your home folder so you won’t pollute your overall system. For my personal use, I need the complete machine learning, data wrangling and Jupyter suite:
pip3 install --user sqlalchemy
pip3 install --user matplotlib
pip3 install --user pandas
pip3 install --user jupyterlab
pip3 install --user PyMySQL
pip3 install --user configobj
pip3 install --user requests
pip3 install --user seaborn
pip3 install --user bs4
pip3 install --user xgboost
pip3 install --user scikit_learn
But you might need other things as Django or other sqlalchemy drivers. Set yourself at home and install them with pip3.
For modules that require compilation and special library, say crypto, do it like this:
CFLAGS="-I/Library/Developer/CommandLineTools/Library/Frameworks/Python3.framework/Versions/3.7/include" \
LDFLAGS="-L/Library/Developer/CommandLineTools/Library/Frameworks/Python3.framework/Versions/3.7/lib" \
pip3 install --user pycrypto
Use Correct Python 3 Binary
For some reason, Apple installs many different Python 3 binaries in different places of the system. The one that gets installed on /usr/bin/python3 has problems loading some libraries and instrumentation with install_name_tool would be required. So lets just use the binary that works better:
export PATH=/Library/Developer/CommandLineTools/usr/bin:$PATH
Run Jupyter Lab on your Mac
Commands installed by pip3 will be available in the ~/Library/Python/3.7/bin/ folder, so just add it to your PATH:
export PATH=$PATH:~/Library/Python/3.7/bin/
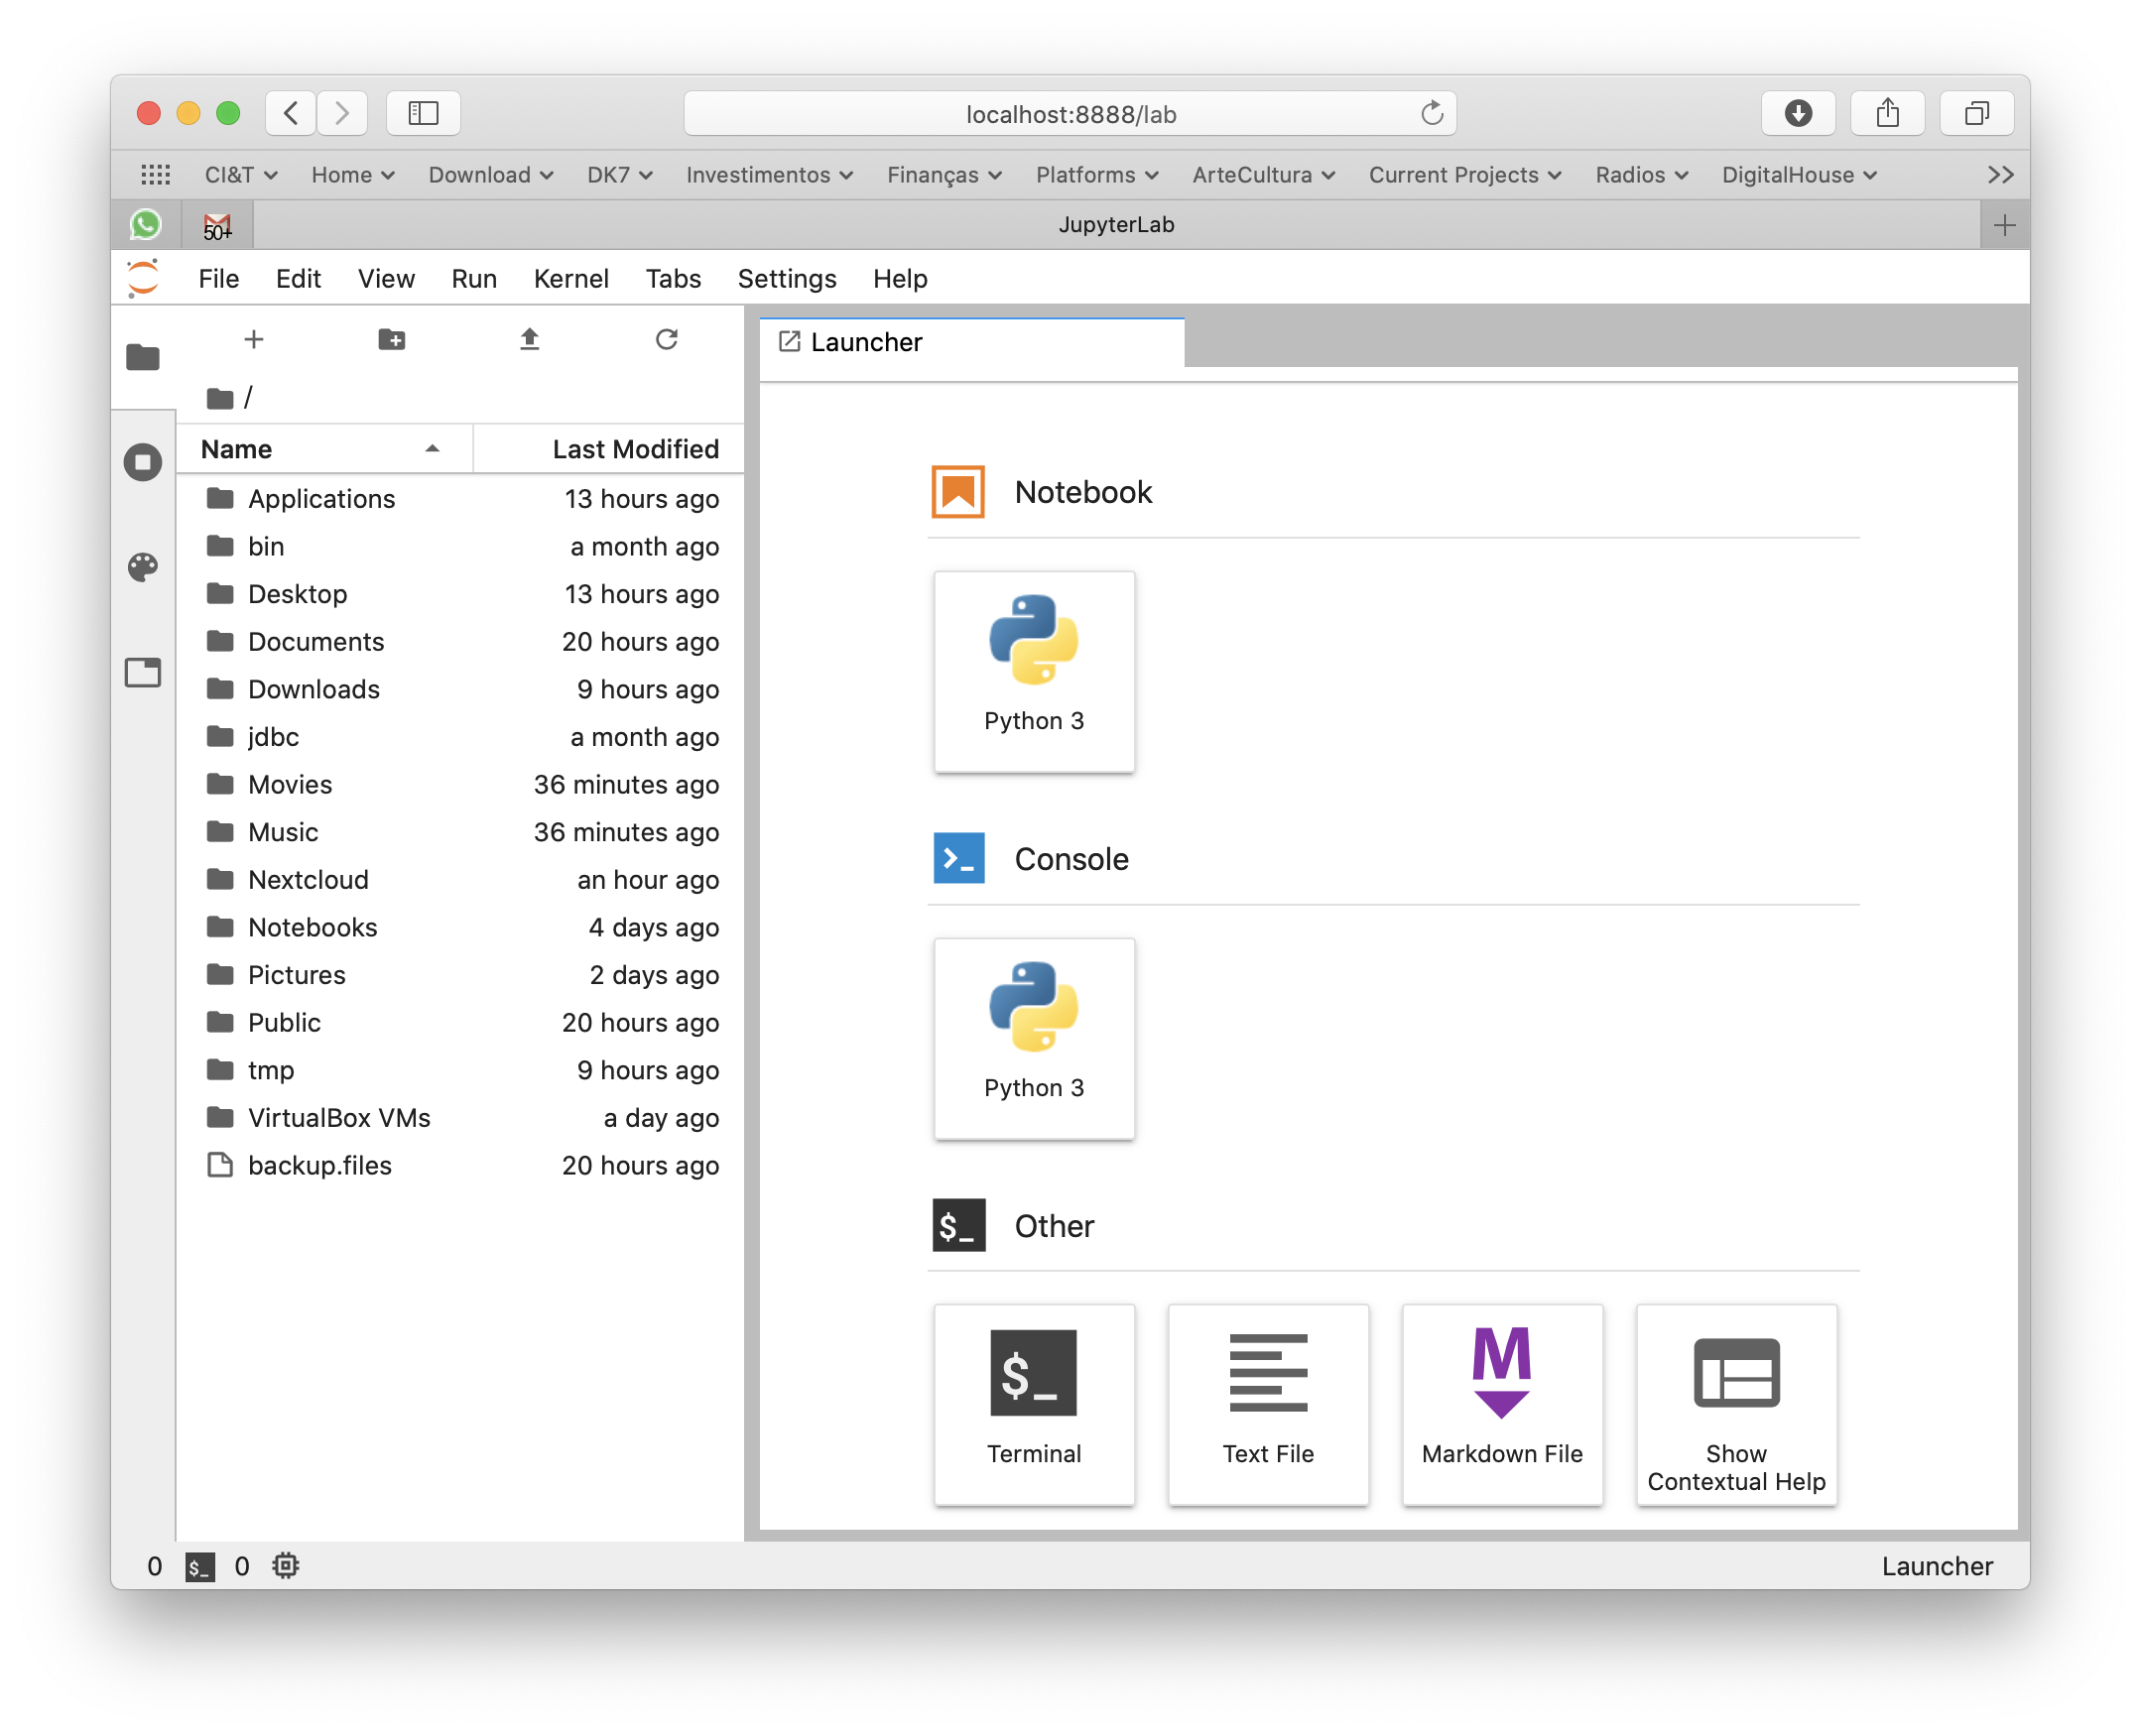
Now I can simply type jupyter-lab anywhere in the terminal or command line to make it fire my browser and get a Jupyter environment.
More about Xcode Command Line Tools
Xcode Command Line Tools will get you a full hand of other useful developer tools, such as git, subversion, GCC and LLVM compilers and linkers, make, m4 and a complete Python 3 distribution. You can see most of its installation on /Library/Developer/CommandLineTools folder.
For production and high end processing I’ll still use Python on Linux with my preferred distribution’s default packages (no Anaconda). But this method of getting Python on macOS is fastest and cleanest to get you going on your own data scientist laptop without a VM nor a container.
Super helpful article, thanks! Do I need to run those 2 export lines everytime I run a new terminal, or everytime I reboot my machine? Or just once?